A stylish sewing how-to complete with free template
This project was written by Ann White, Janome education co-ordinator: our thanks go to her for this excellent tutorial.
Recipe
- Main fabric approx. 40cm x 40cm
- Lining fabric approx. 40cm x 40cm
- Contrast fabric for applique approx. 10cm x 10cm
- Lightweight fusible wadding – approx. 40cm x 40cm
- Bias Binding 1m x 25mm (If making your own bias binding: – 25mm (1”) tape maker cut your strips or 47.5mm (1⅞”)
- Heat N Bond
- Optional decorative button and Kam snap.
Download the project template PDF here »
Cut 2 x rectangles from your main fabric and wadding. 1 x 20cm x 40cm (main back section), 1 x 20cm x 28cm (front section). Fuse a piece of wadding to each of them.
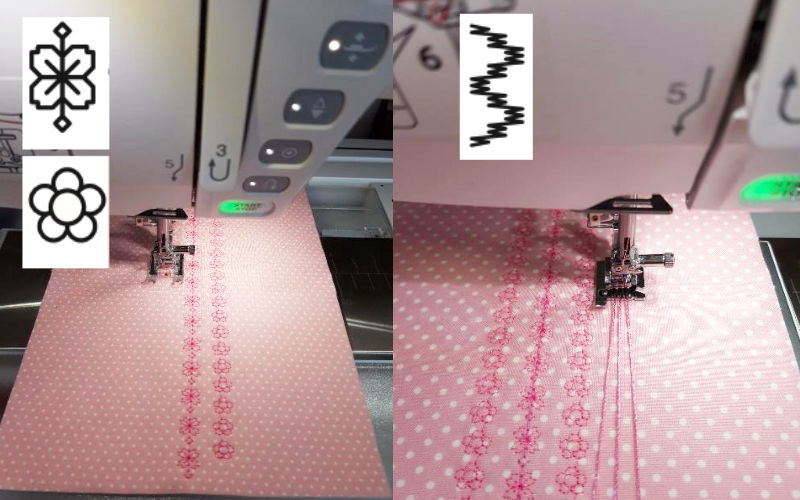
Using a fabric marker draw a line down the centre of each piece. Attach the ‘F’ foot to your machine, starting from the centre stitch vertical rows of decorative stitches using the edge of your foot as a guide foot. Alternatively you could use a Border Guide Foot. All computerised machines have a good choice of decorative stitches.

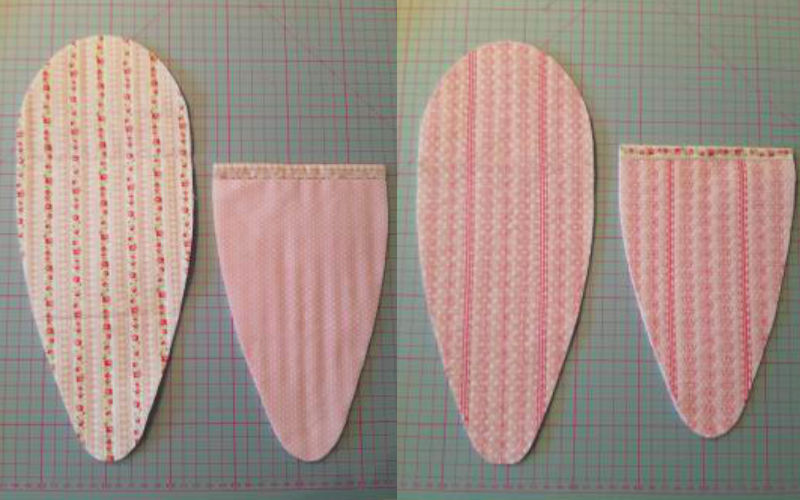
Once the decorative stitching is complete, cut out the following pattern pieces matching the centre line on your pattern piece with your centre stitched line.
Pattern Pieces
A + B = Main back section
B = Front section
For the Front section use pattern piece ‘B’
- Cut 1 x main fabric
- 1 x lining fabric
- 1 x wadding.
For the Back section attach pattern pieces A & B together at line indicated.
- Cut 1 x main fabric
- 1 x lining fabric
- 1 x wadding.
Cut out the applique flower and attach Heat N Bond to the wrong side. Take off the backing paper and position on the right side of the main piece and fuse in position as shown in the finished project picture.
Using one of the appliqué stitches, sew round the outer edge of the flower petals (see below). Mark the centre of the flower and use decorative stitches to create stamens in the centre. French knots were used here, including bridge stitches to make some longer than others.
Use the pattern combine if you have it on your machine, if not use the lock stitch to create a single pattern repeat. Always test stitches on a scrap piece first to see the direction they stitch in and to check the size.

Optional: For the centre of the flower attach a button for a decorative look (check your manual for more information on attaching buttons).
Attach lining pieces to the reverse of the front and back sections using a large straight stitch. Sew close to the edge to hold in place, alternatively you could use a temporary adhesive spray.
Using a small strip of contrast fabric, bind the top edge of the front piece.

Place the two pieces, wrong sides together, matching the lower edges and sides, use a large straight stitch to baste together close to the edge.
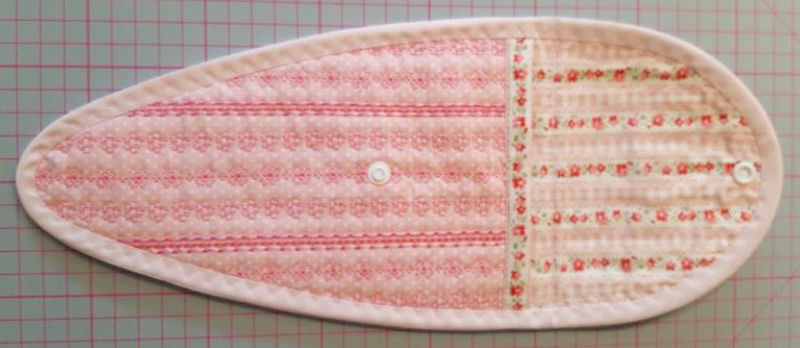
Attach the binding – this can either be done the traditional way or by using a binder attachment, use a decorative stitch to complete.
Once complete add the fastener of your choice. A Kam Snap was used on this project.

